Monday, September 13, 2010

I have sheep!!!!


Three Sheep. Yes - 3. Pam and I went in half's on them. The two white are females and the brown is a male. The former owner wanted to thin her flock. The females were $100 each and the Ram was $90. They are 1 year old. The brown and the white on the right are all Blue Face Leicester. The female on the left is 1/4 Wensleydale and 3/4 Blue Face Leicester.

We will be keeping them at Sandy's house with her sheep. The brown is a ram. Sandy will be able to mate them with her Cheviot and get a nice fleece. Long and lustrous.


This is the Wensleydale Blue Face mix.


This is Sofia, the Blue Face Leicester.


This is Barac, the Ram.

We be able to sheer them before the winter to get this years fleece. We will also be able to let them have babies in the spring.

We also got some chickens. I don't remember the variety. But there are 8. They will start laying eggs in the Spring.

Sunday, September 12, 2010

Dying Assignment


Our assignment was to make mountain colors, grass and greenery, rocks and landscape colors. So my results are the below.


I made grey, blue, green and brown. Each piece of fabric has two dyes on them, a light and a dark variation of the color. So each piece has a wide variation in the color intensity. And there is also the mottling effect of dying in the cups. I then added black to 3 of the color for darker variations. So the fabric colors are as follows. This picture is turned so the order is

  • brown with black

  • brown

  • green with black

  • green

  • blue with black

  • blue

  • gray


These are the dye colors that were used. You know that yellow and blue make green. Well the amount of yellow and the amount of blue determine what shade of green you end up with. Brown is made or red, yellow and blue. The red didn't dissolve very well and so there are specks of red all over the brown pieced. So since the red didn't dissolve then there was just the yellow and blue to dye the fabric so it has a green tinge.


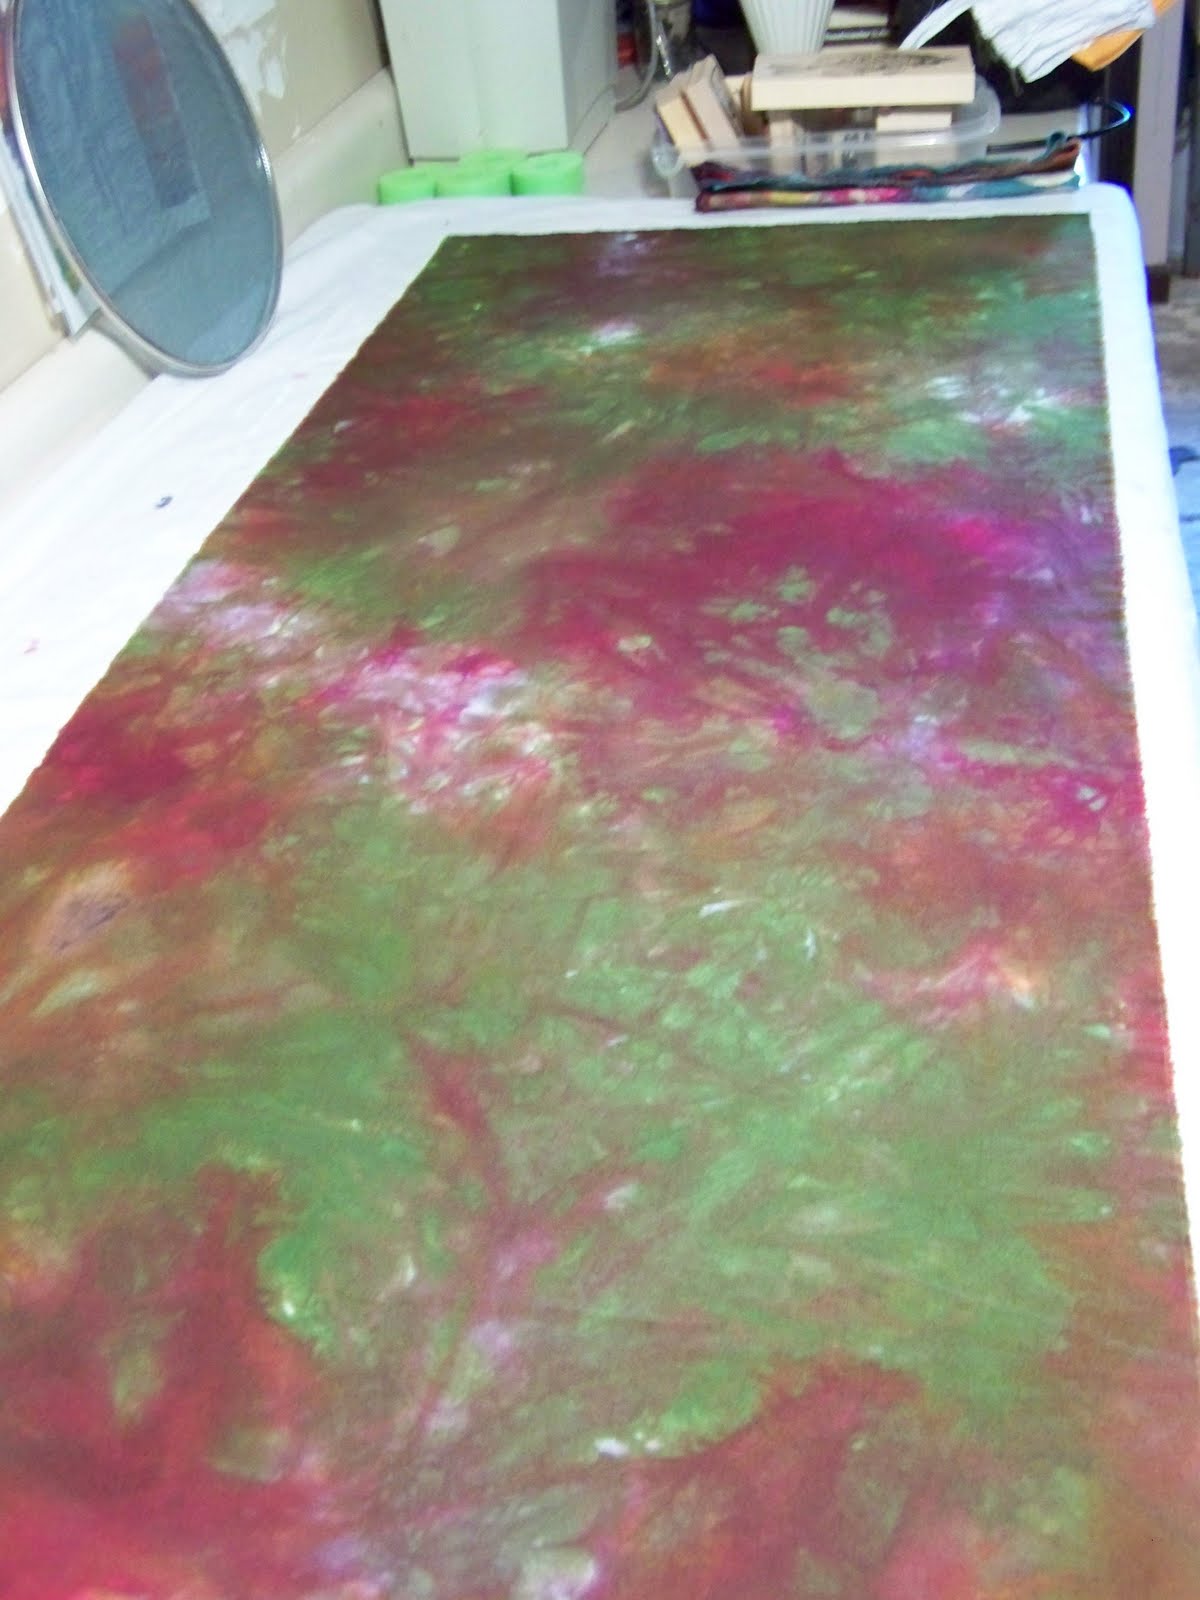
Then I did some stuff on my own. These are the dyes that I used for some over dying. I took a piece of cotton that had a light green background and some green leaves printed on it. I used the following colors on some  1/2 yard pieces.


  • Pale Aqua

  • Raspberry

  • Warm black

  • Forest Green

  • Navy

  • Burgundy

  • Brilliant orange

  • Lilac
I didn't keep a piece of the original, but it looks a lot like the pale aqua piece. The leaves only are visible in a couple of the lighter dyes. Pale Aqua, Brilliant Orange, Burgundy and Lilac.


Here you can still see the original pattern of the leaves. You can see them in the aqua piece in the first picture and in the last fabric in the second picture.

Friday, September 10, 2010

New supplies


The small Measuring spoons that I ordered finally arrived - cute names.


Got some more paints at Dick Blicks


Some Stickers and stencils from Joann's and Hobby Lobby.


A small brayer and mask Ease from Dick Blick and Hobby lobby.

Can't wait till more fabric fun this weekend.

Saturday, September 4, 2010

Ok, I am having just too much fun...


I started last night with this fabric below.

I added some rubbings with Shiva Sticks on some rubber stamps and rubbing plates.


This morning I added some more stamping but I used a Comet gel as a discharge.  The large leafy cross in the pictures are the discharge. I also used a scrub brush and dipped it in the comet gel and then stamped it onto the fabric moving it slightly to make an impression.


I took another piece and rolled the gel onto a variety of leaf stamps. You have to time the discharge for how long to leave it on the fabric. It is rinsed well and soaked in a water and anti clorine solution for a while.


Next, I went into the garage to get something from the fridge and saw some noodles for the water so I cut off a couple of pieces a couple of inches long and used them as stamps for the following piece. I did an overall pattern on the 1/2 yard. Below is the piece of noodle and the fabric before I washed it.


Here is the piece after I washed and dryed it. Oh, so cool.


Then I took a plastic grid that I bought at the dollar store today and made another overall pattern with the discharge gel. I laid the grid on and used a roller to get the gel into the grid and on the fabric. It took a while to get the entire 1/2 yard covered, I ended up washing the bottom while the top was still working on the fabric. This really looks great.


With each piece of fabric the I took from my stash I had fun dedicing what to do with it. I hope to add more stuff to some pieces. The following looked like the it needed some fish swimming, so I found some fish stamps and used some paint and a brayer to get the paint on the stamp.


It is hard to see the fish . So I will add more stamps or rubbings later.


Next piece I used a Clorox Bleach pen and just did some squiggles. Timing was critical here also. The first part gets too bleached while the last part still needs work.


Some more with the bleach pen on a blue piece.

I ran out of bleach pen so I put the Clorox gel into a squeeze bottle and did some more squiggles.


The work area is so great. I have everything there at hand. Except when I have to run down stairs to get some other stamps or more fabric. But then I get some exercise too!

I went to the dollar store and bought some items to used as stamps or rubbings, You learn to look at items differently when you want to used them on the fabric. I bought a neat cutting board that has a little handle and lip that I have been using as a palatte for the discharge gel. I also used a piece of glass to pour the paint on when I used the brayer. The grid that I used above is some sort of mat.

Friday, September 3, 2010

First Attempts


I spent a little time screen printing tonight. Our assignment were to cut a screen from newsprint and make some samples. The star bursts are in yellow paint on the above and below samples.


Then we were to cut screen from freezer paper and make some samples. Well my samples are from stencils that I made with the Cricut.


In the above picture is the cutout in blue is leaning against the wall, this is what the Cricut produced. What was cut out is in blue in front of the orange piece. I took the circles that were cut out and put some tape on the back and repositioned them on the screen, I didn't do it exactly as the cut out.


I put the cut out in between the two samples above. I printed on some of my dyed fabric.


I cut another stencil with the Cricut and used the Yudu screen that I bought. The screen is bigger and more open.

I lifted the screen up them laid it down again, it didn't go into the exact same spot, so the bottom row there is an over print. Here is the stencils from the Cricut. I used 12x12 paper which made it nice to tape to the Yudu screen. I may be able to use them again.

Once the samples dry I will add some more stuff, either dye the white ones or stencil again, or something. I kept trying to get full coverage with the paint, I think that I will try just a light or partial coverage of paint to see that effect.

Thursday, September 2, 2010

Ready to Paint and Dye


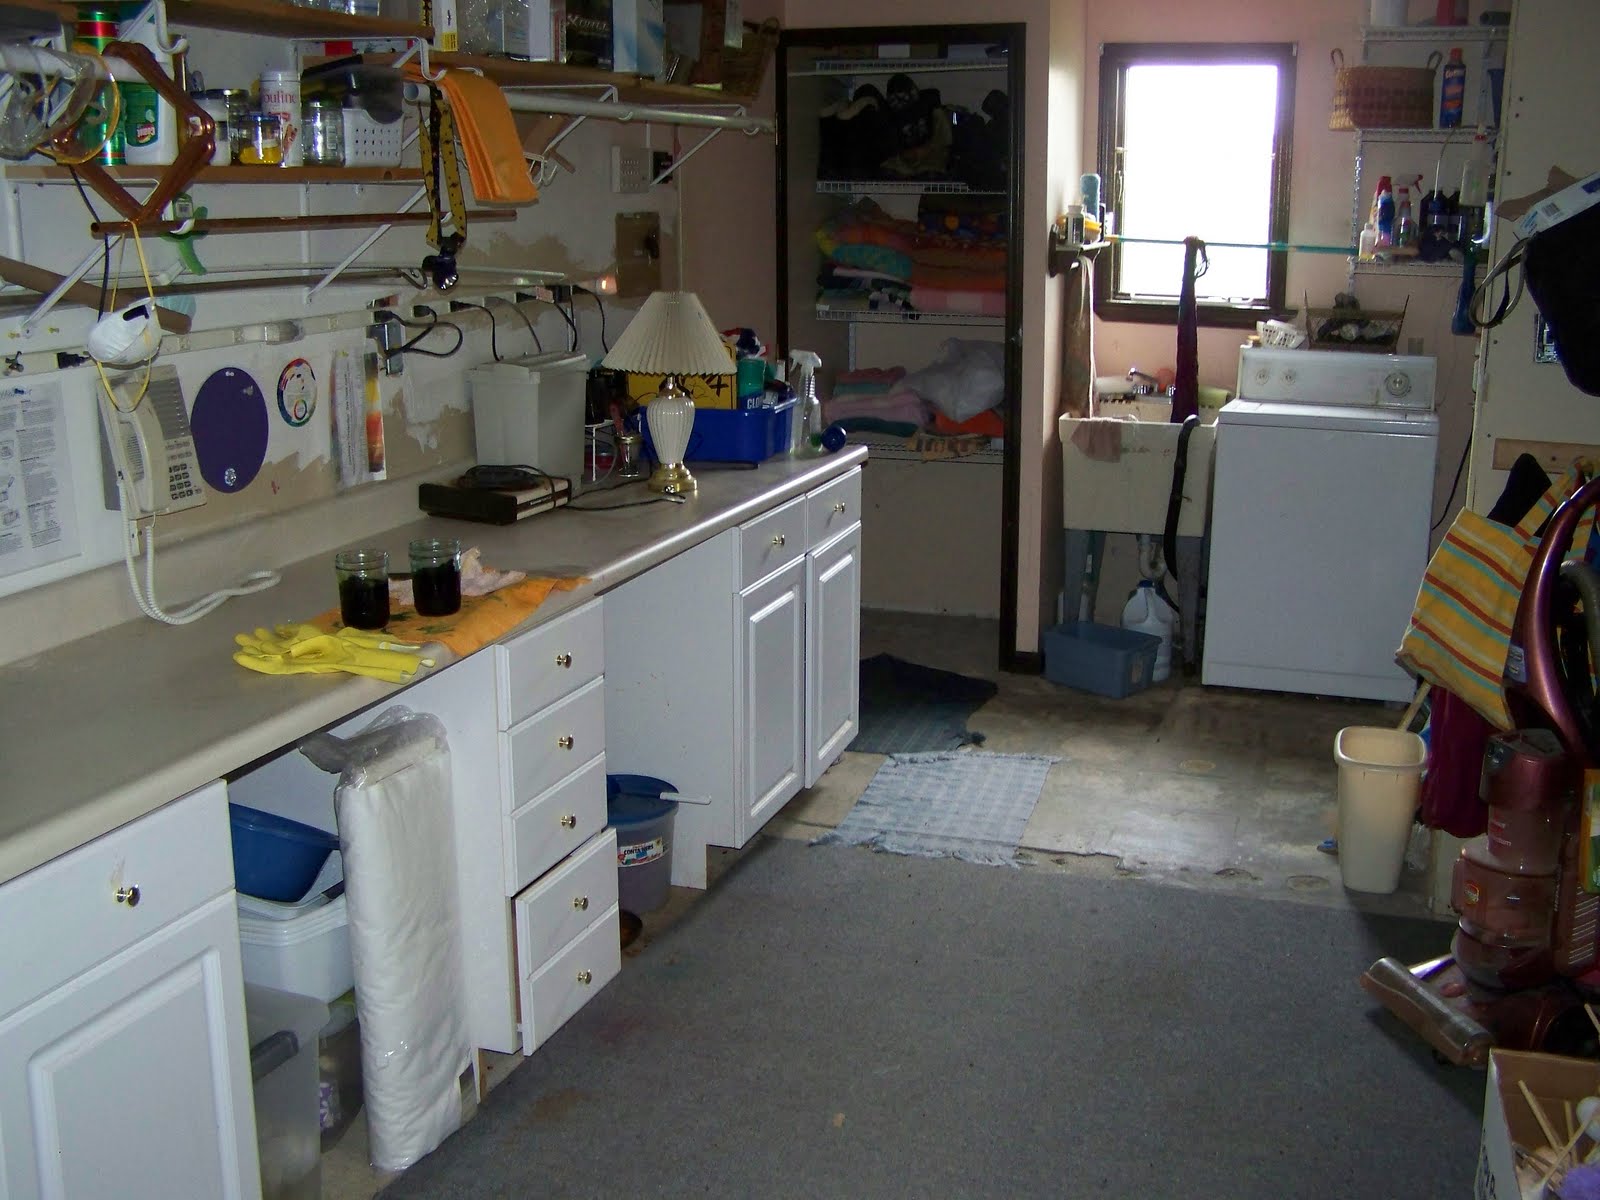
I finally am ready to do the assignments for my Screen painting class. And I have the laundry room ready for the Dying class that starts tomorrow. I took the day off today and spend the morning and half the afternoon cleaning the laundry room and getting things organized.


I washed my screen on Monday night. It had to dry so I had to wait to tape it. Taped it on Tuesday night. It had to cure to use so I had to wait another day.


Last night I was too tired to do anything. I have today and tomorrow off work, so I have a nice 5 day weekend. I slept in today, Wonderful. Cleaned and Organized. Now I am ready to work. But I need a rest.


While I was cleaning up I had some leftover dye that I needed to use. I dyed some cotton Yarn. It is hanging in the window over the laundry tub in the picture above. Here it is rinsed and dryed. I put it into a mesh bag and into the washer with the fabric that I dyed. Then into the dryer. It is a bit tangled, but not bad. So it is preshrunk!


There was still a little dye left, so I thru in a fat quarter into the two remaining jars. They are on the countertop in the above picture. Turned out really nice. They just worked away while I was cleaning.

A nice avacado with bits or a rusty brown.


A nice teal with some white spots.